ExecutableLatexTutorial
Jump to navigation
Jump to search
This tutorial shows how to edit an executable paper using VisTrails and its LaTeX extensions. It requires LaTeX and VisTrails (version 1.6.2 or later). Please download them if you have not done so already.
- The tutorial will involve this paper. Please download the source here.
- After downloading and extracting the source directory, compile the paper. If you have
makeinstalled, you can use the included Makefile. If not, typepdflatex --shell-escape tutorial
Make sure thatvistrails.styandincludevistrail.pyare included in the same directory as the paper. - Open the newly created
tutorial.pdf. You should see the generated figure. - Click on the figure. This should download a
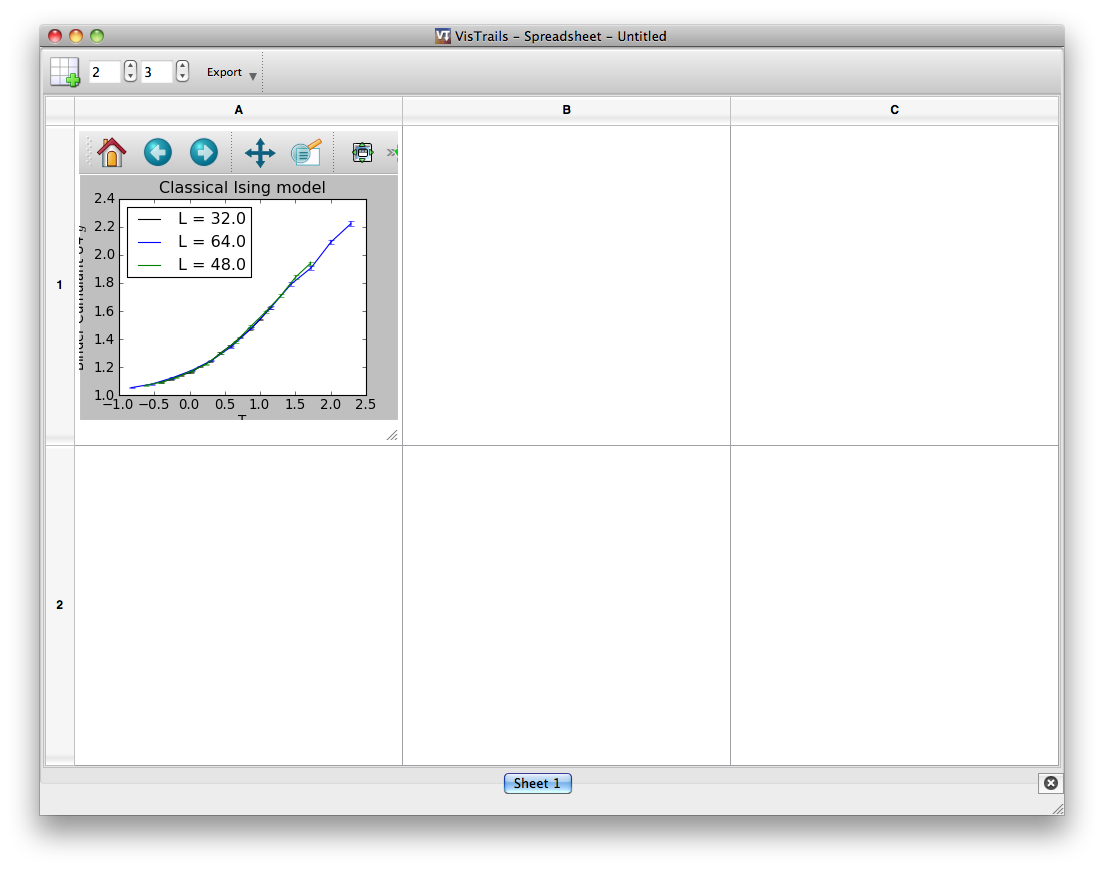
.vtlfile from the ALPS server. If this file does not open automatically with VisTrails, double-click it and define the file extension association or open it directly in VisTrails via File -> Open. - The VisTrails Spreadsheet should display the same figure. You can pan and zoom the plot as you would with matplotlib.
- If the "Builder Window" is not shown, display it using Window -> Show Builder Window.
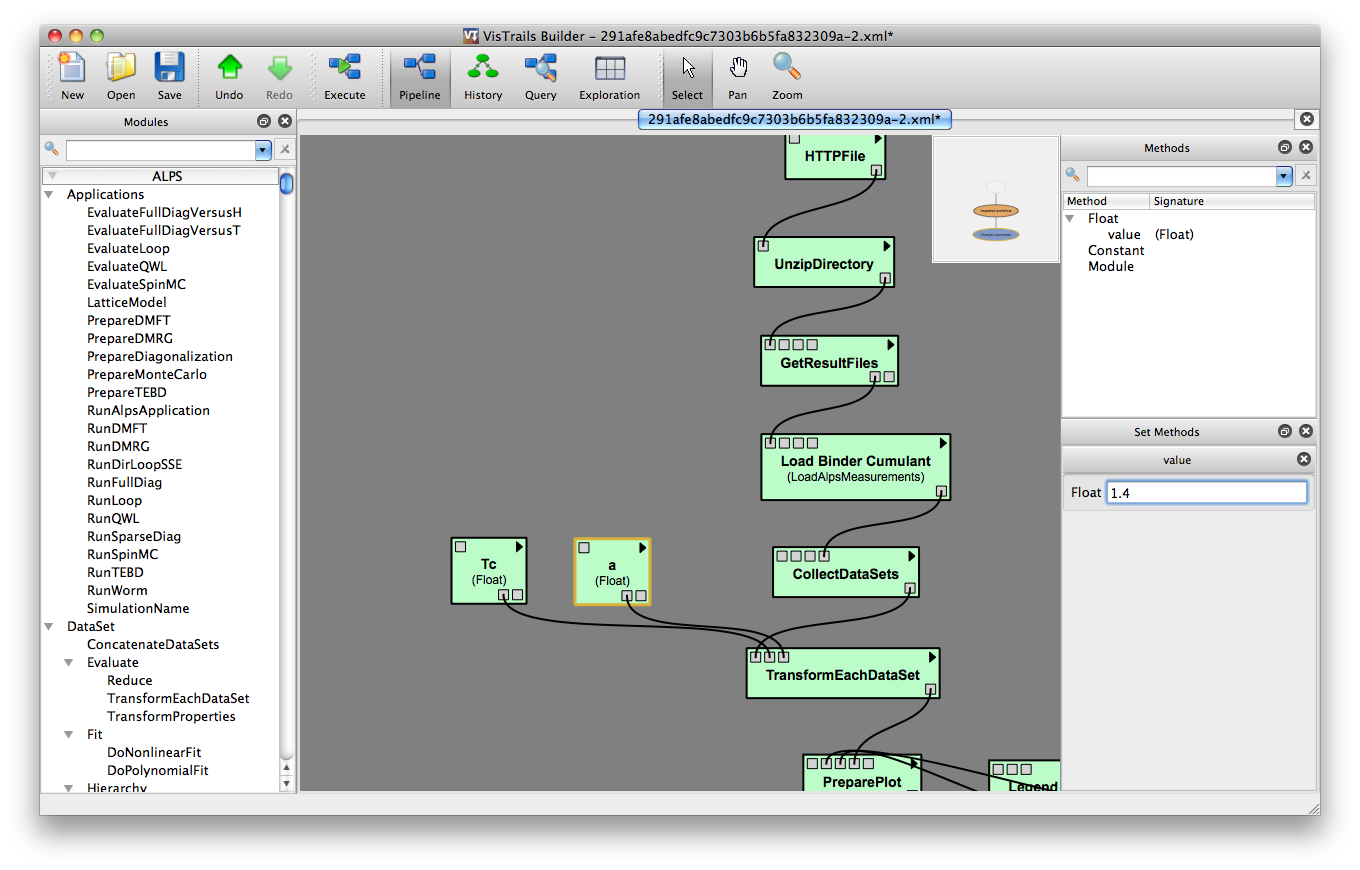
- Switch to the"Pipeline" view. Click the corresponding button in the toolbar at the top of the builder window.
- Select the module titled "a" (it is displayed as a box with ports that connect to other modules).
- In the "Set Methods" panel on the right, change the "value" parameter from
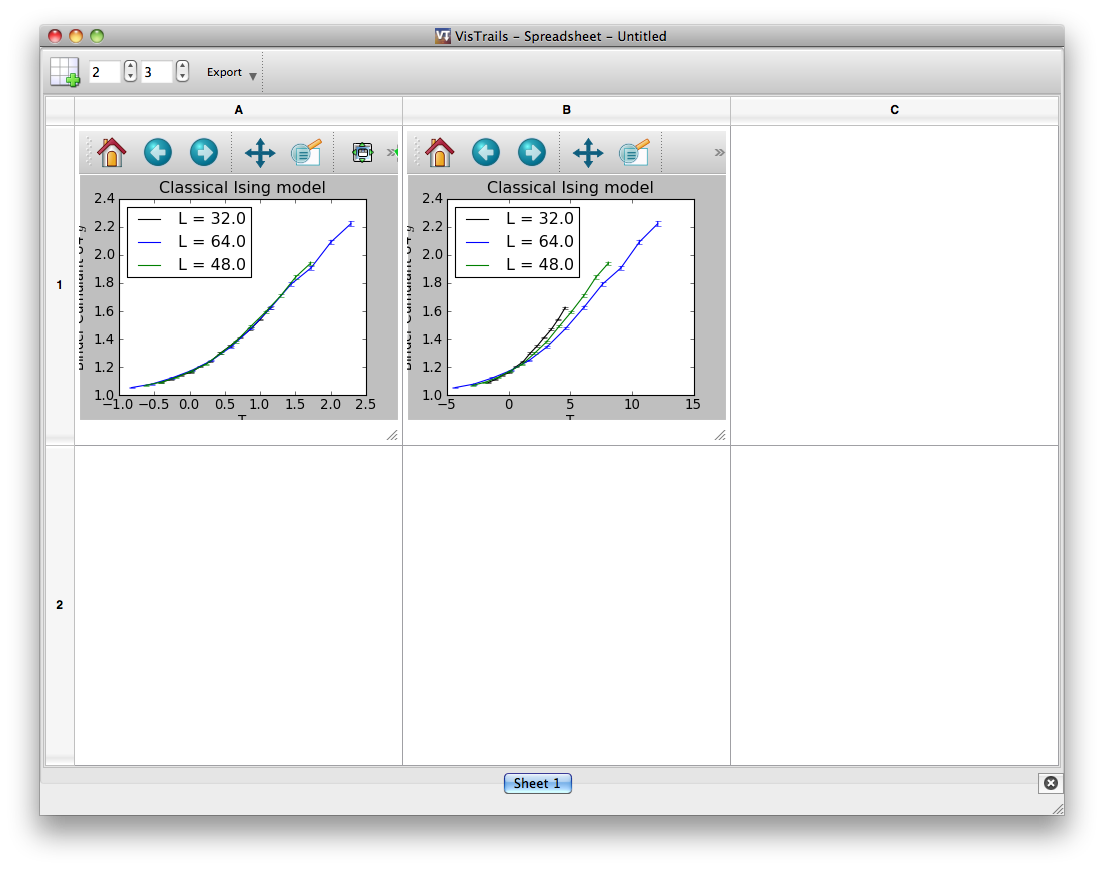
1.0to1.4and click the Execute button. VisTrails will create a new plot that shows divergence of the individual lines. - Save the vistrail in the same directory as the LaTeX source. Choose File -> Save As... and find the source directory, naming the file "alps.vt".
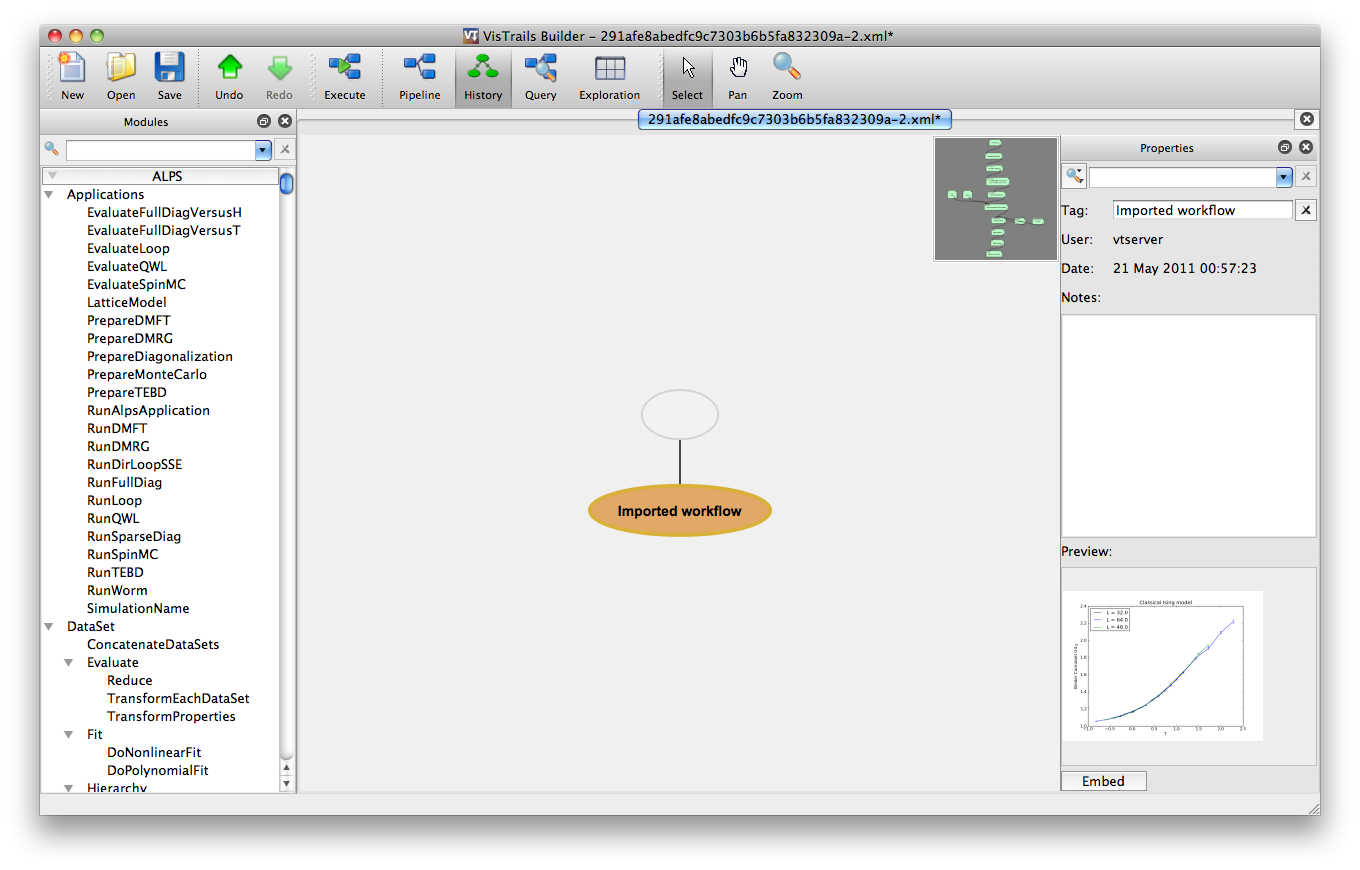
- Switch to the "History" view.
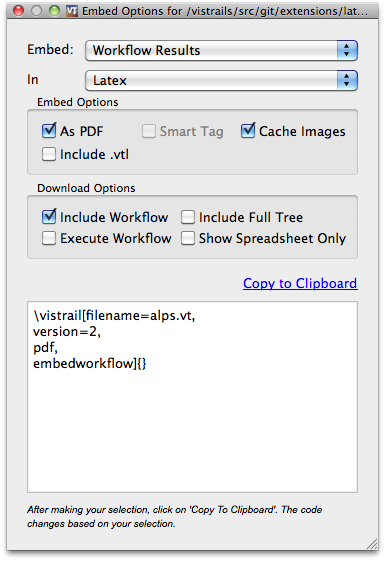
- Click the Embed button in the lower-right corner. This will bring up an assistant that will generate new LaTeX code that can be copied back to the LaTeX source. Note: If you have not saved the file, you will see a message asking you to save your vistrail before proceeding.
- Make sure "Workflow Results" and "Latex" are selected in the top drop-down menus. Check the "As PDF", "Cache Images", and "Include Workflow" options, and click Copy to Clipboard.
- Open the
tutorial.texin your favorite text editor. - Find the
\begin{figure}section and replace the text between the "Begin edit area" and "End edit area" comments with the text from the clipboard. The new code should look similar to the following:\vistrail[filename=alps.vt, version=2, pdf, embedworkflow]{} - Note that you will probably wish to size the figure correctly so add the width inside the braces. For example,
\vistrail[filename=alps.vt, version=2, pdf, embedworkflow]{width=0.45\textwidth} - Edit the
\renewcommand{\vistrailspath}{...}line to point to your VisTrails install. Note that for Mac OS X, you need to provide the path to the executable inside the application bundle. For example,renewcommand{\vistrailspath}{/Applications/VisTrails.app/Contents/MacOS/vistrails} - Save the modified file.
- Quit VisTrails.
- Recompile the LaTeX source. Again, you may use the included Makefile or call
pdflatexdirectly. LaTeX will call VisTrails to generate the new figure and include it in the new paper. - You should see a new version of the paper with the modified results included. It should look something like this. If you run into an error, make sure you have quit VisTrails before running the command and that you have redefined
\vistrailspathto point to your local copy of VisTrails. Also, make sure that you have saved the.vtfile (from Step 10) to the same directory as thetutorial.texfile.
